Your first 30 minutes with Scratch for Children 2
Six small steps from an empty stage to a character that moves on the green flag. A screen-by-screen first half hour with Scratch for Children 2, plus tips.
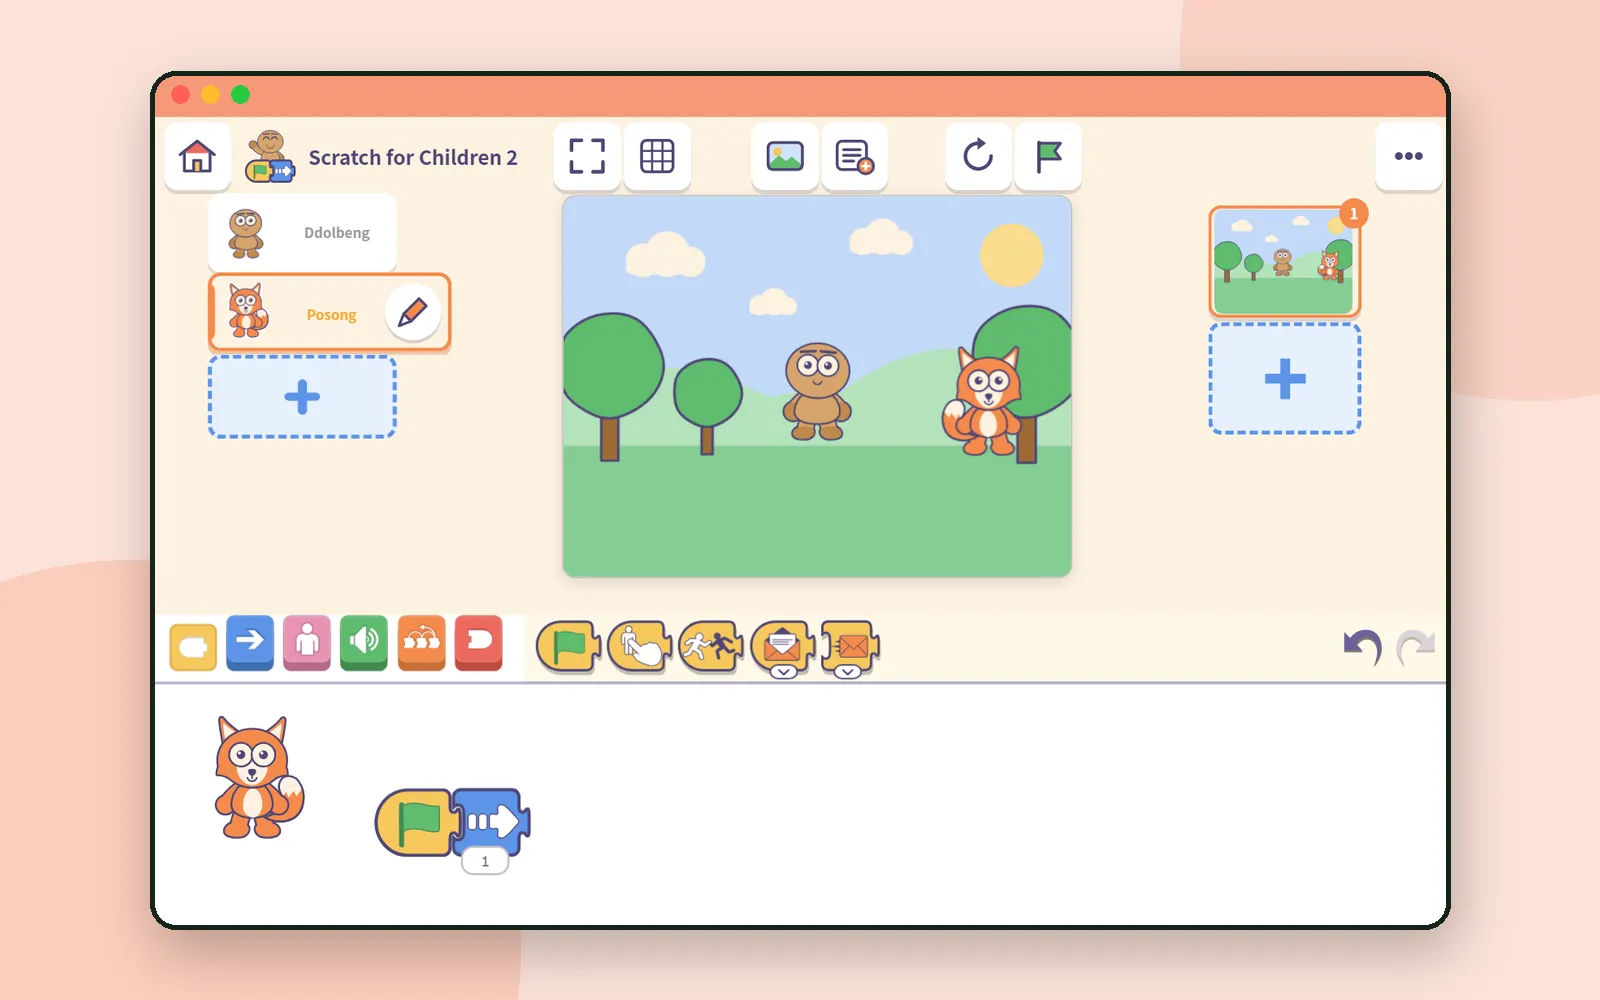
In the last post we took a tour of Scratch for Children 2. Now it’s time to actually sit down with your child. But where do you begin?
The app’s own guide for grown-ups answers that in two short sentences:
Do not try to make a story yet. Seeing what one block does is plenty.
So that’s our plan for today. We’ll follow the guide’s six steps for the first half hour, one screen at a time, until a character moves when you press the green flag. Ready? 🚩
Before you start: the guide for grown-ups
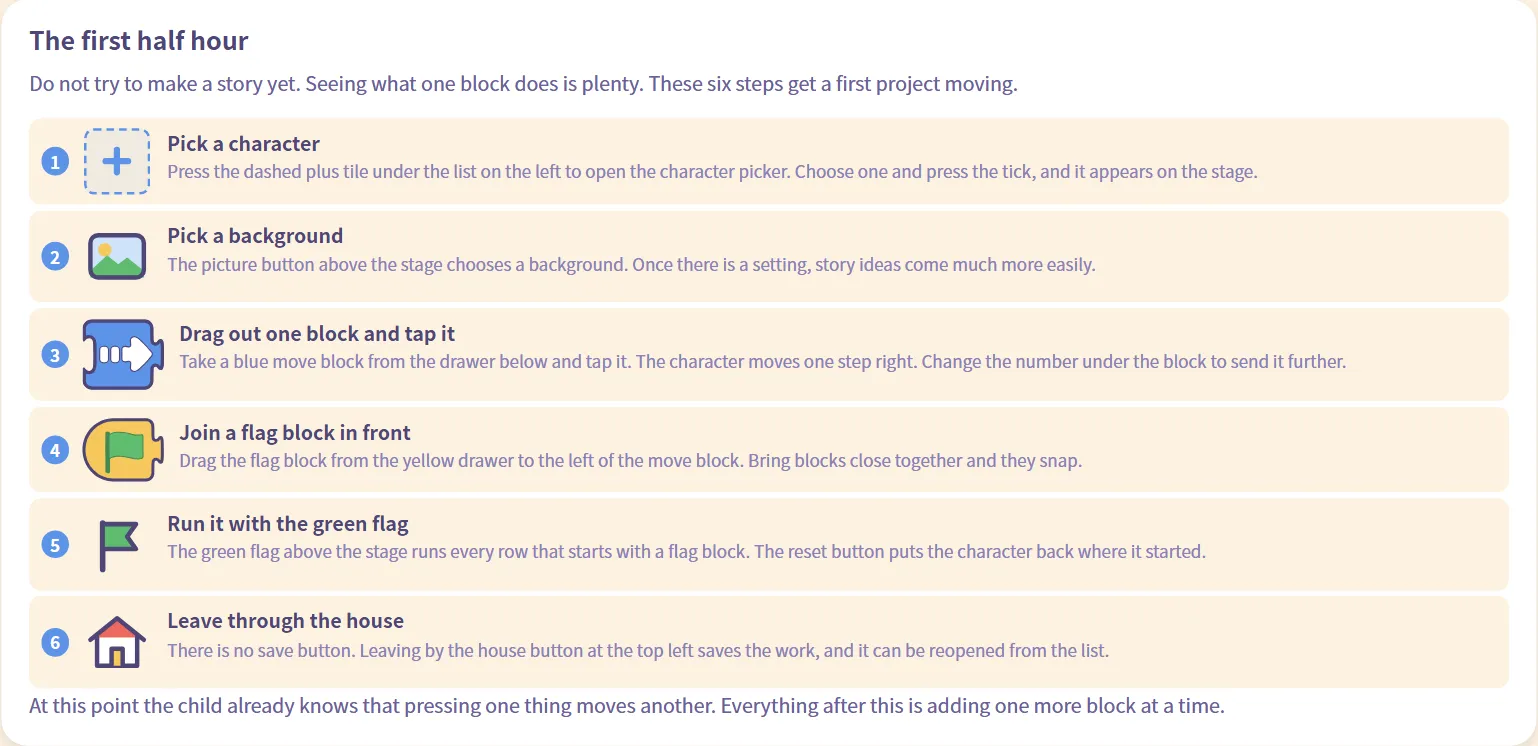
Everything in this post comes from a page inside the app. From the first screen, press Settings, then under How to use press Getting started and scroll to The first half hour. It’s worth a two-minute read before your child joins you.
The first time you open the app, a friendly character pops up with a short walkthrough. You can follow it with Next or close it with Stop.
CodingTeading appScratch for Children 2Block coding for young childrenStep 1: Make something new and pick a character
On the first screen, press Make something new. The making screen opens right away, and Ddolbeng is already standing on the stage.
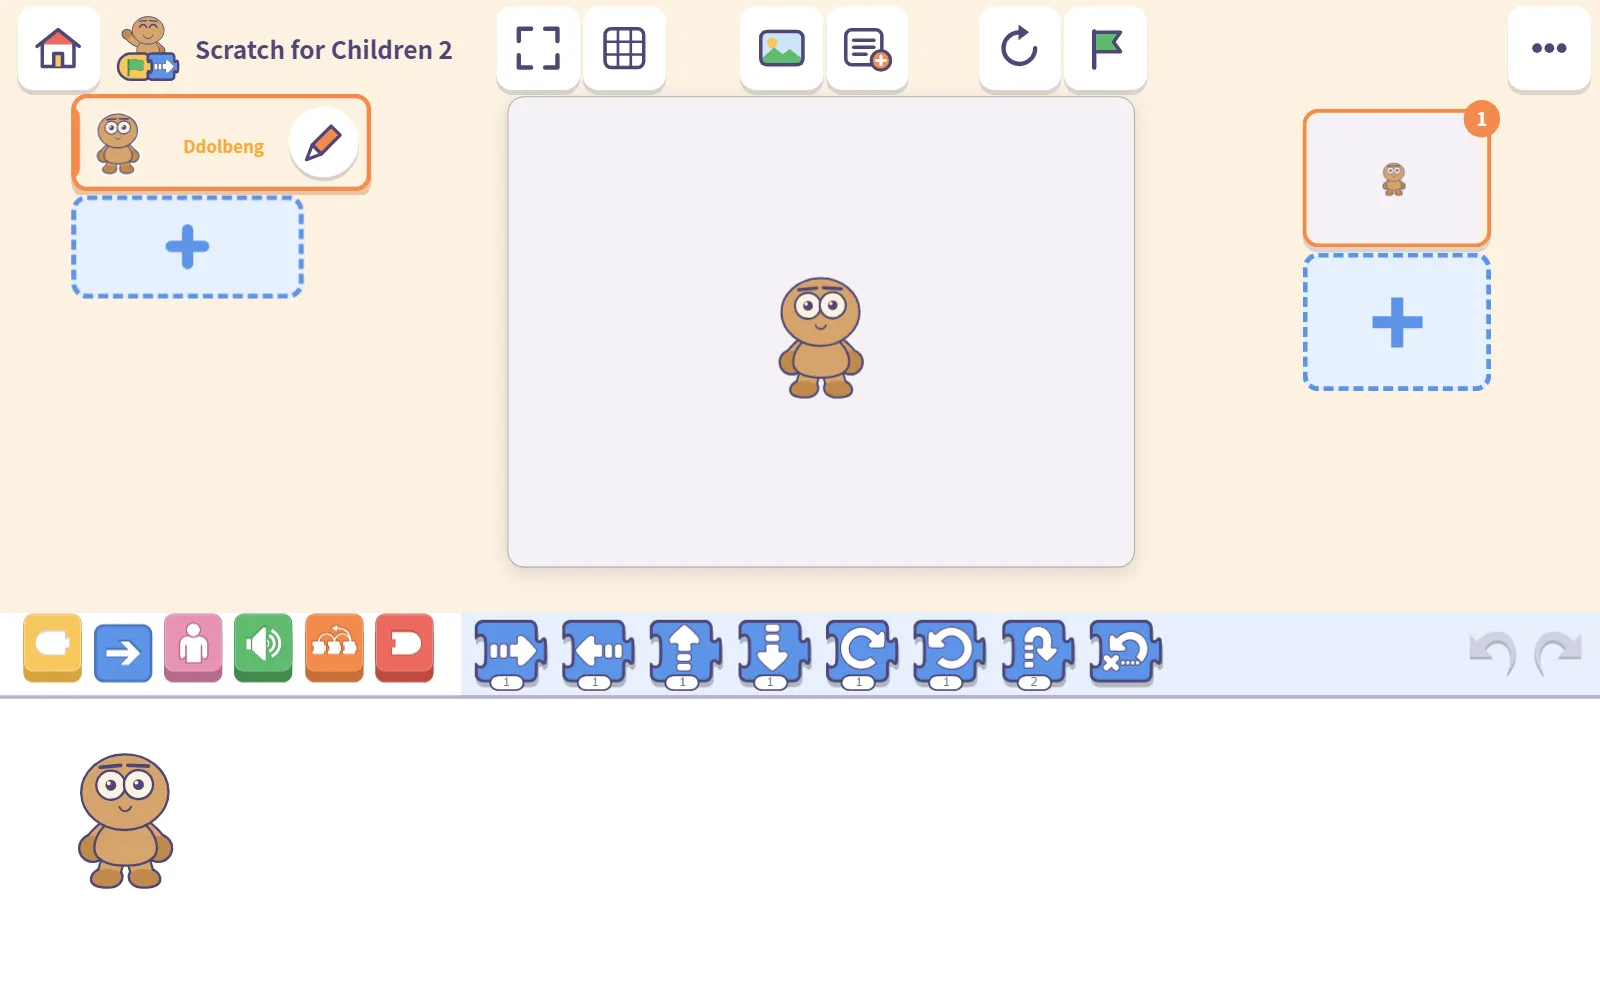
Now let’s bring a friend along. Press the dashed plus tile under the character list on the left, and the character picker opens.
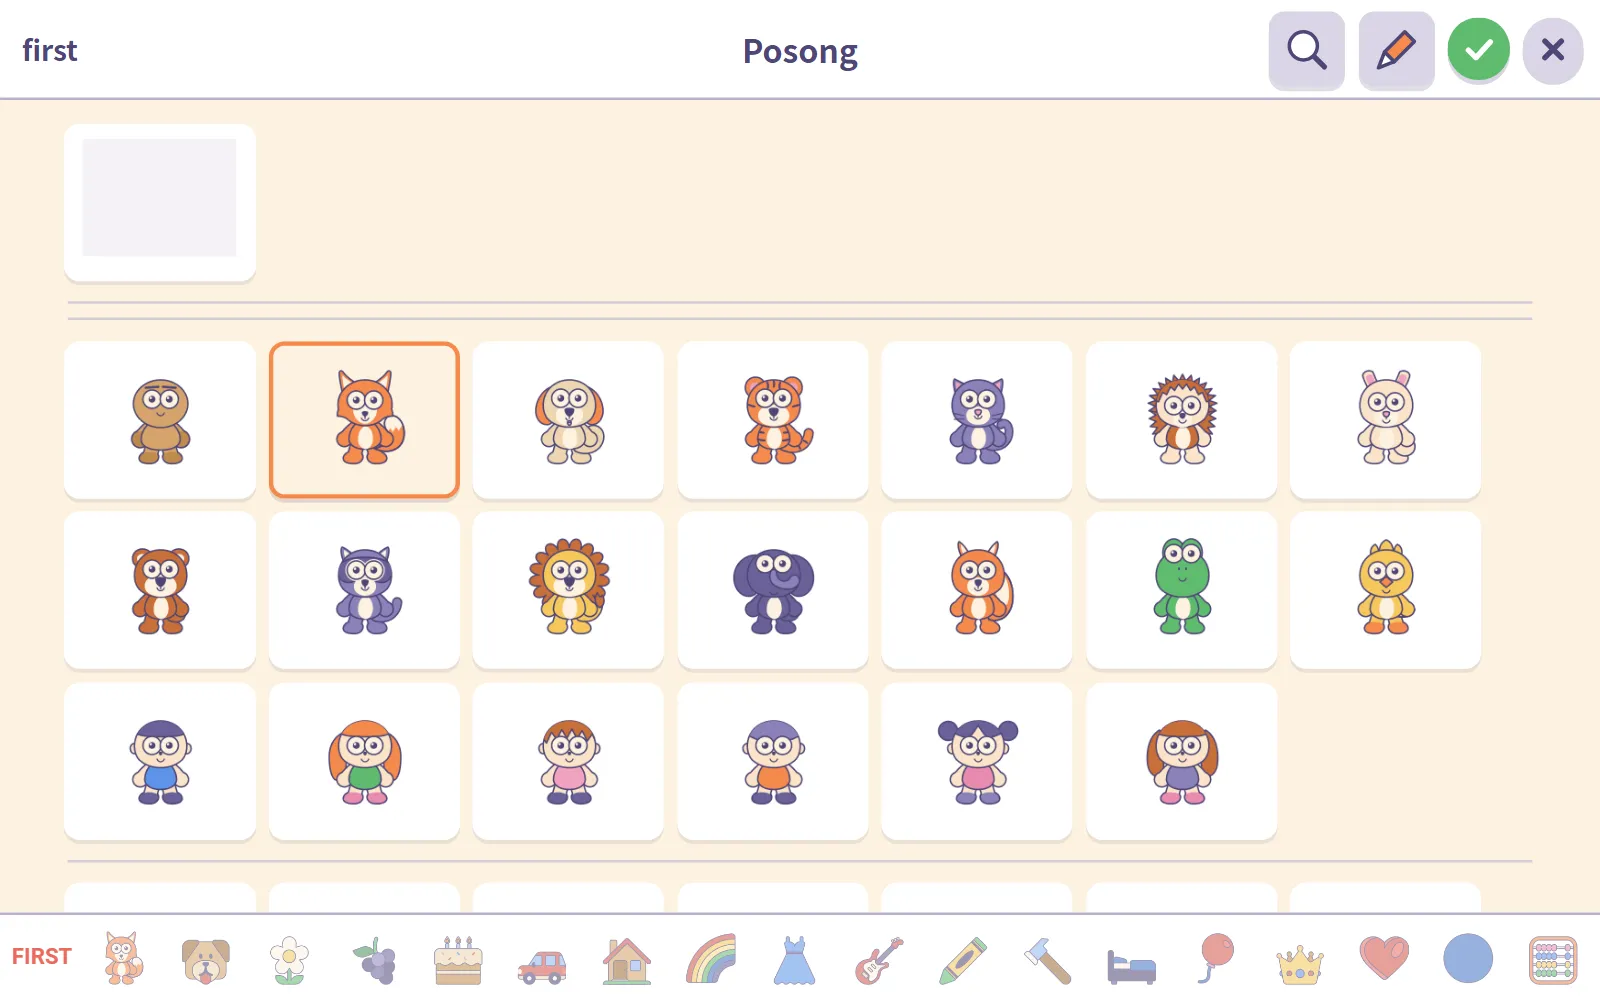
Today we’ll choose Posong the fox. Tap Posong, and the name appears at the top. Press the green tick at the top right, and Posong joins Ddolbeng on the stage.
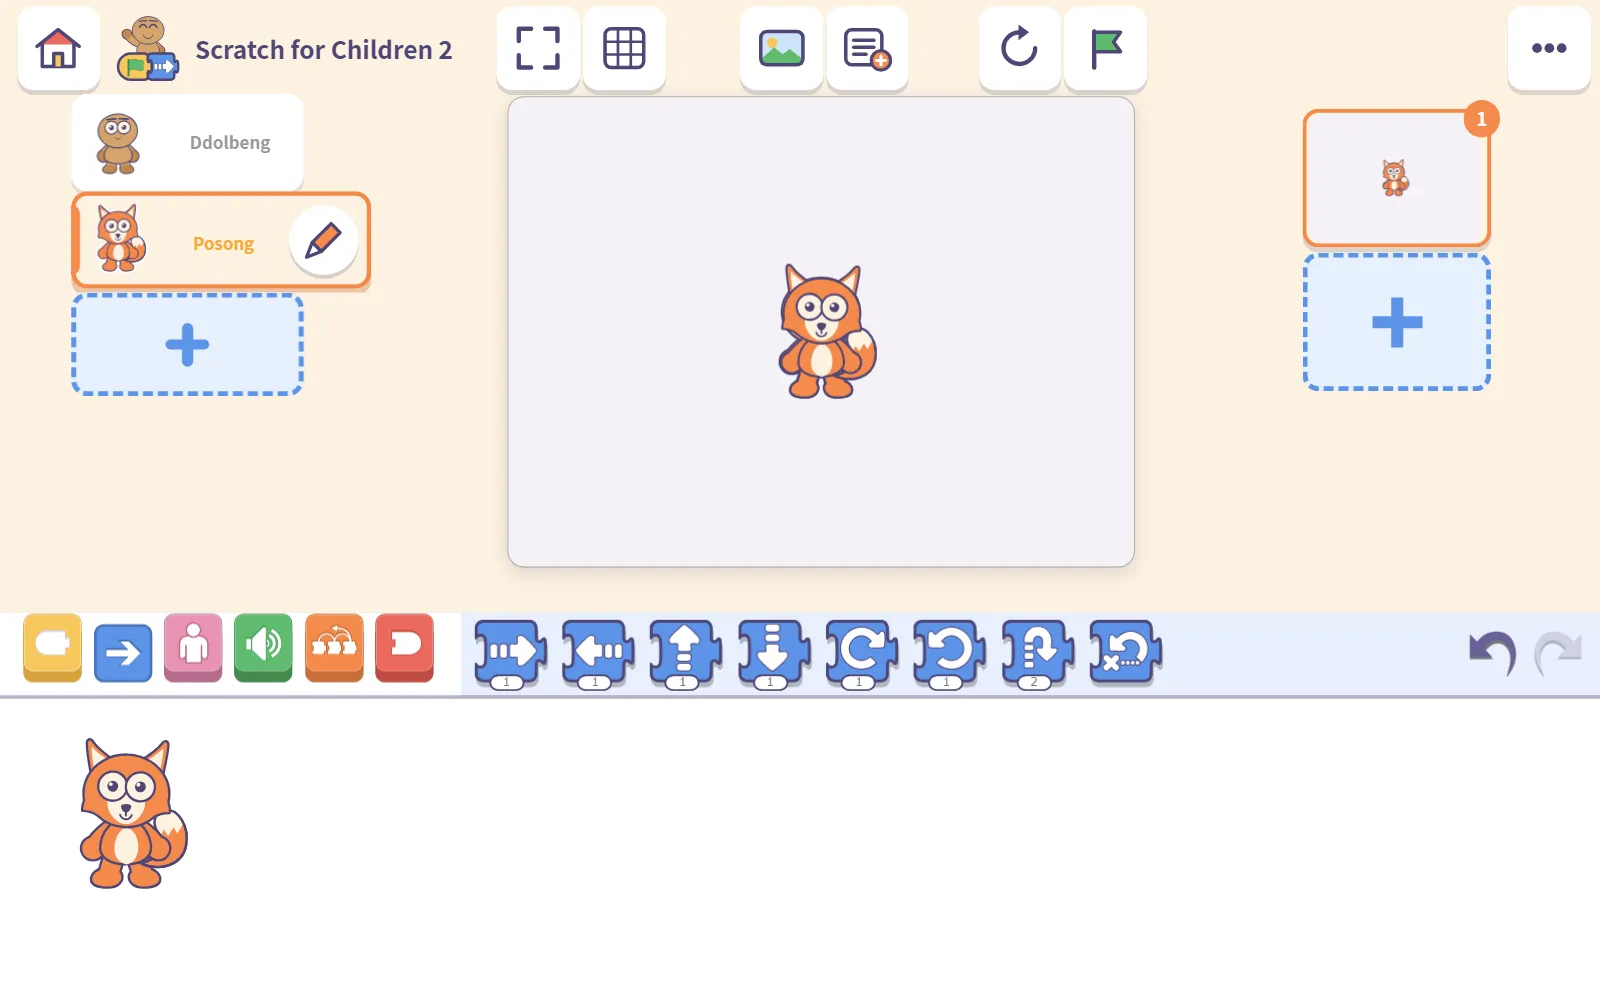
A new friend arrives in the middle of the stage, right on top of Ddolbeng. Drag Posong across the stage to a spot of their own.
Step 2: Pick a background
Press the picture button above the stage to open the backgrounds.
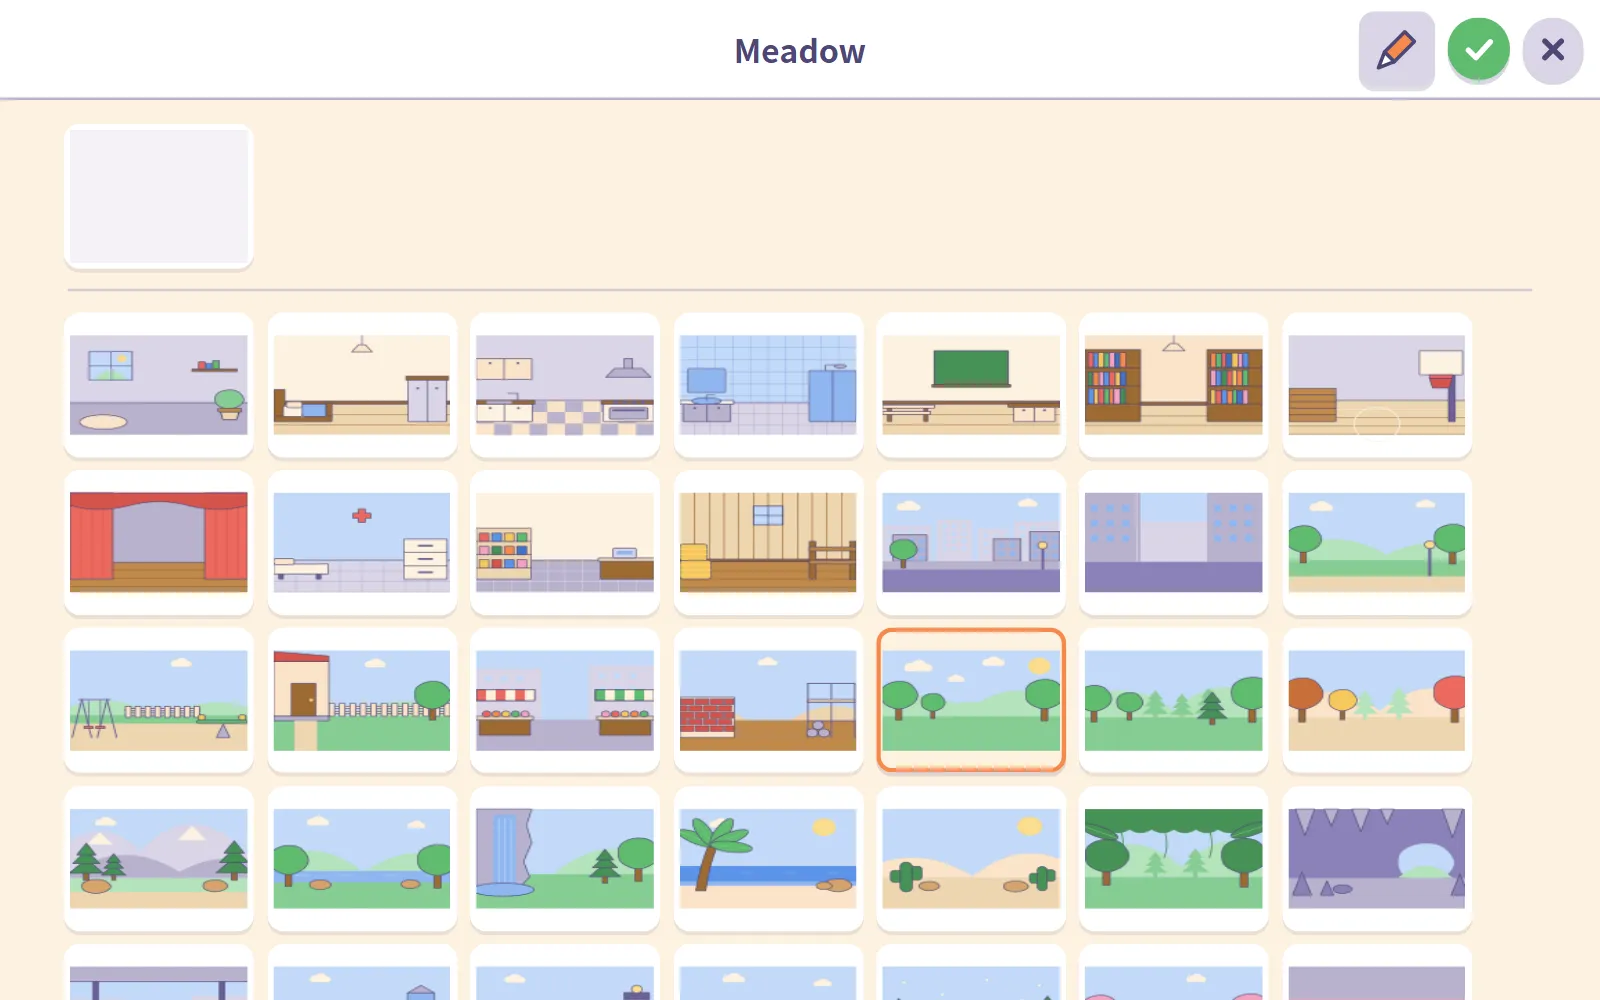
We picked a meadow and pressed the tick again. The guide puts it nicely: once there’s a setting, story ideas come much more easily.
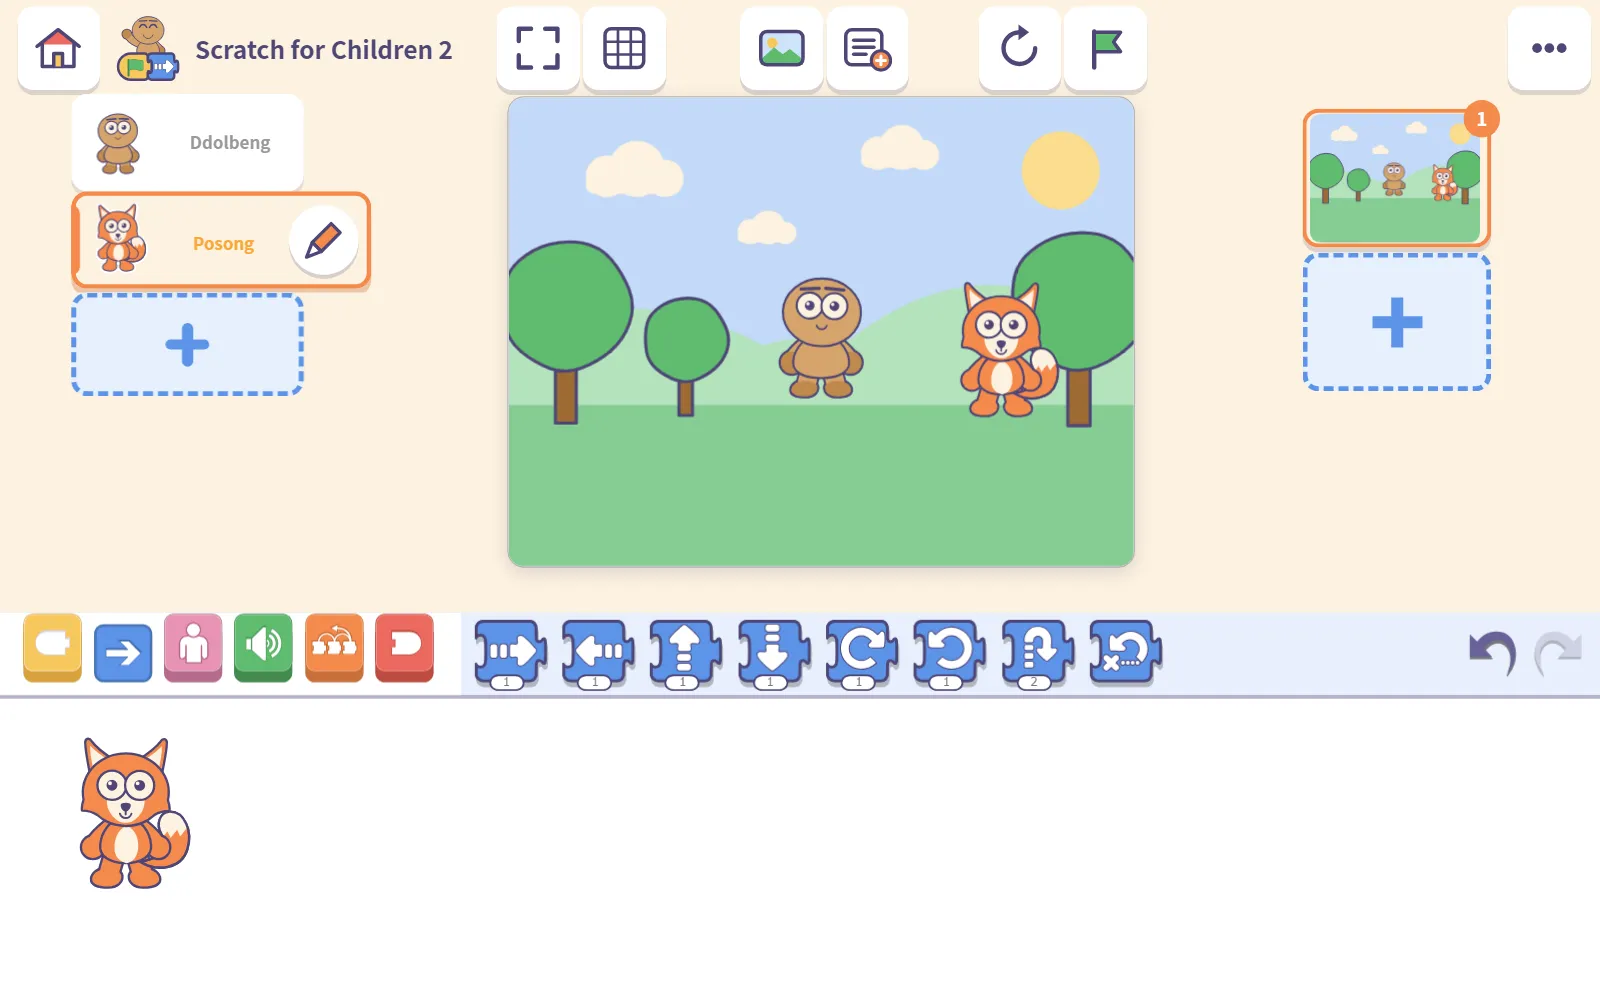
Step 3: Drag out one block and tap it
This is the heart of today. The block drawer under the stage opens with the blue blocks, and every block carries a picture instead of words.
Drag the first blue block (the one that moves right) down into the building area.
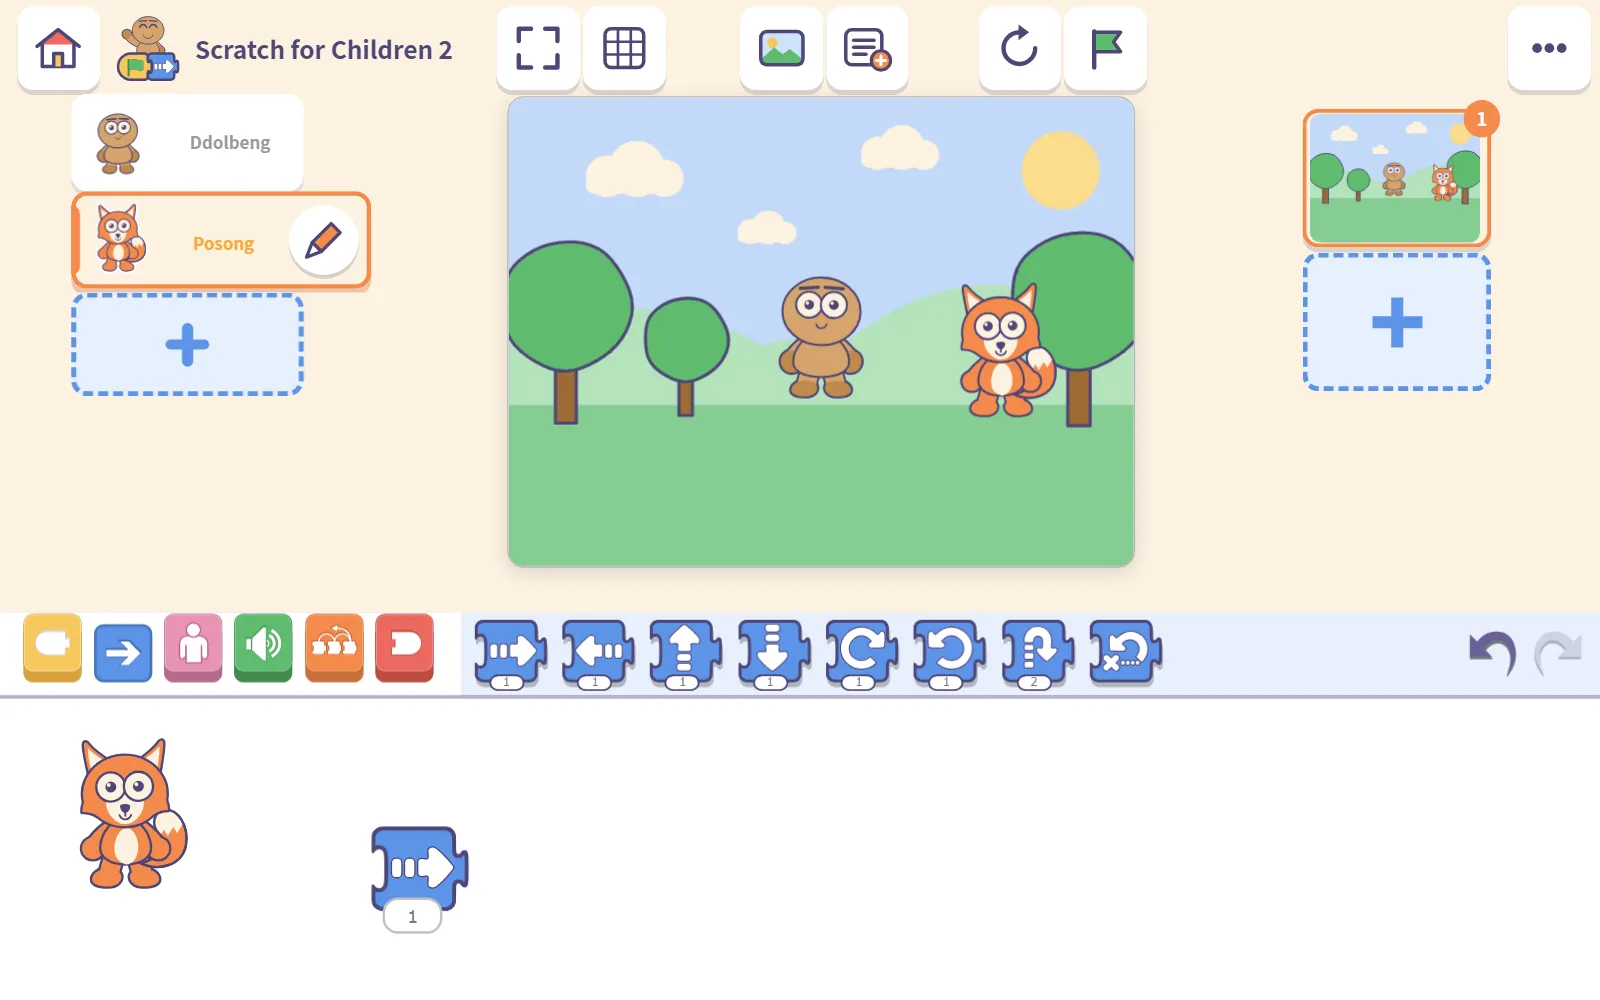
Now tap the block. Posong takes one step to the right!
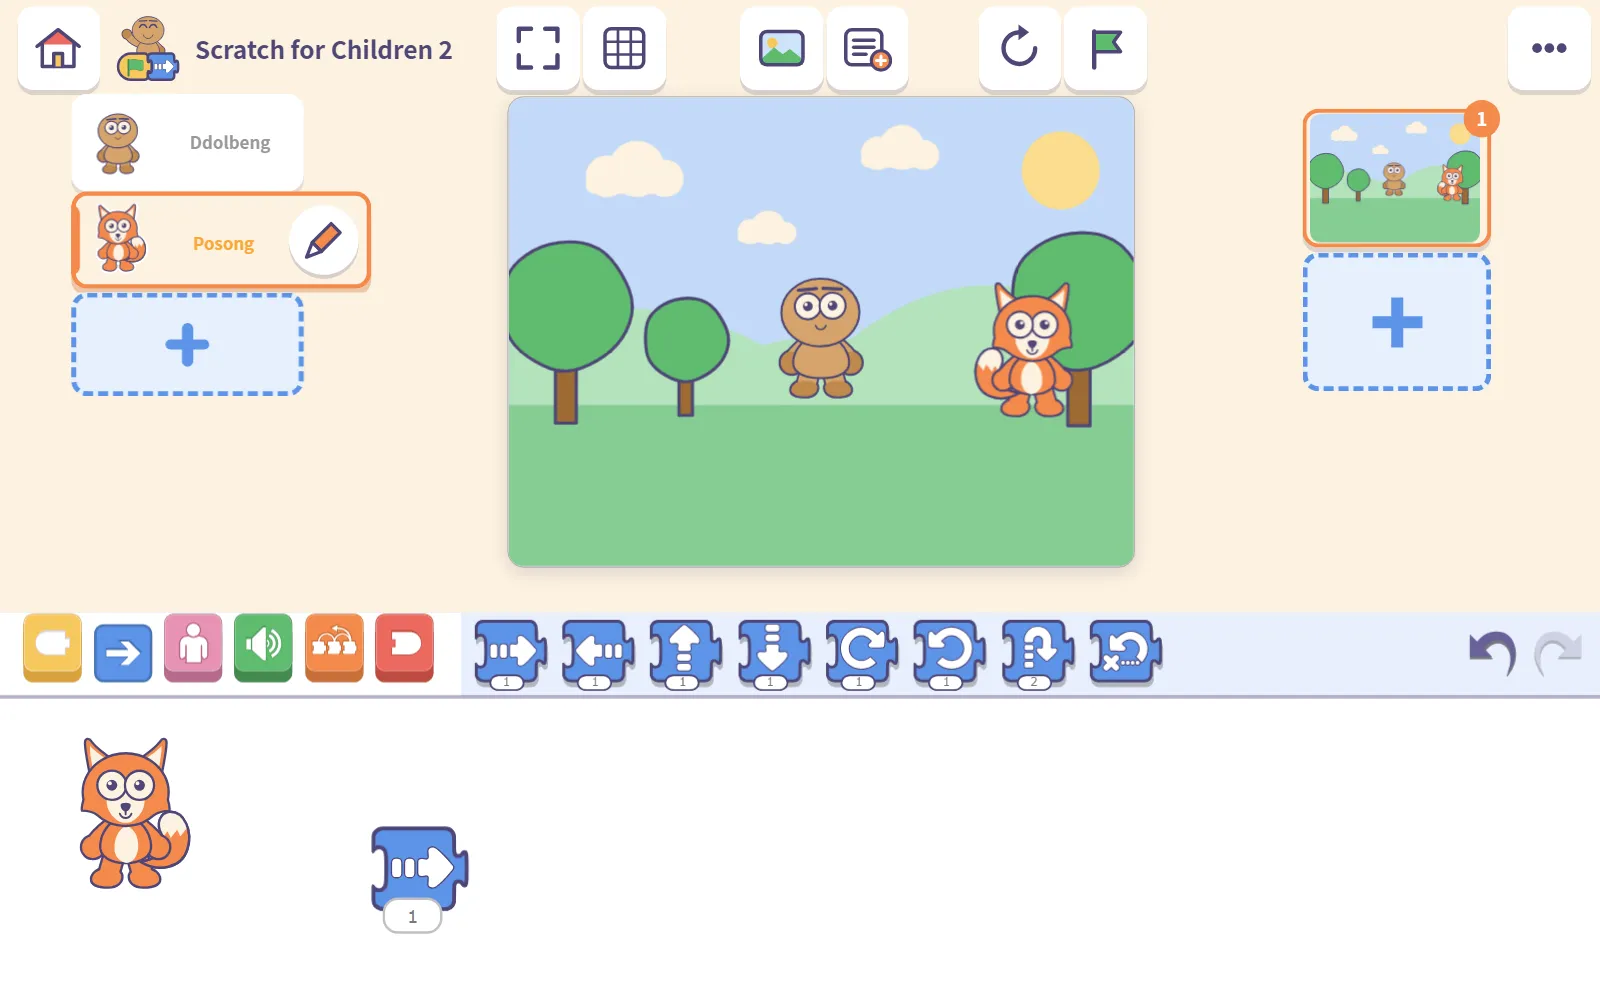
The number under the block says how far to go. Change it and tap again to send Posong further.
Step 4: Join a flag block in front
On the left of the block drawer there’s a row of coloured buttons. Press the yellow one. These blocks decide when something starts.
Drag the flag block to the left of the blue move block. Bring them close and they snap together by themselves.
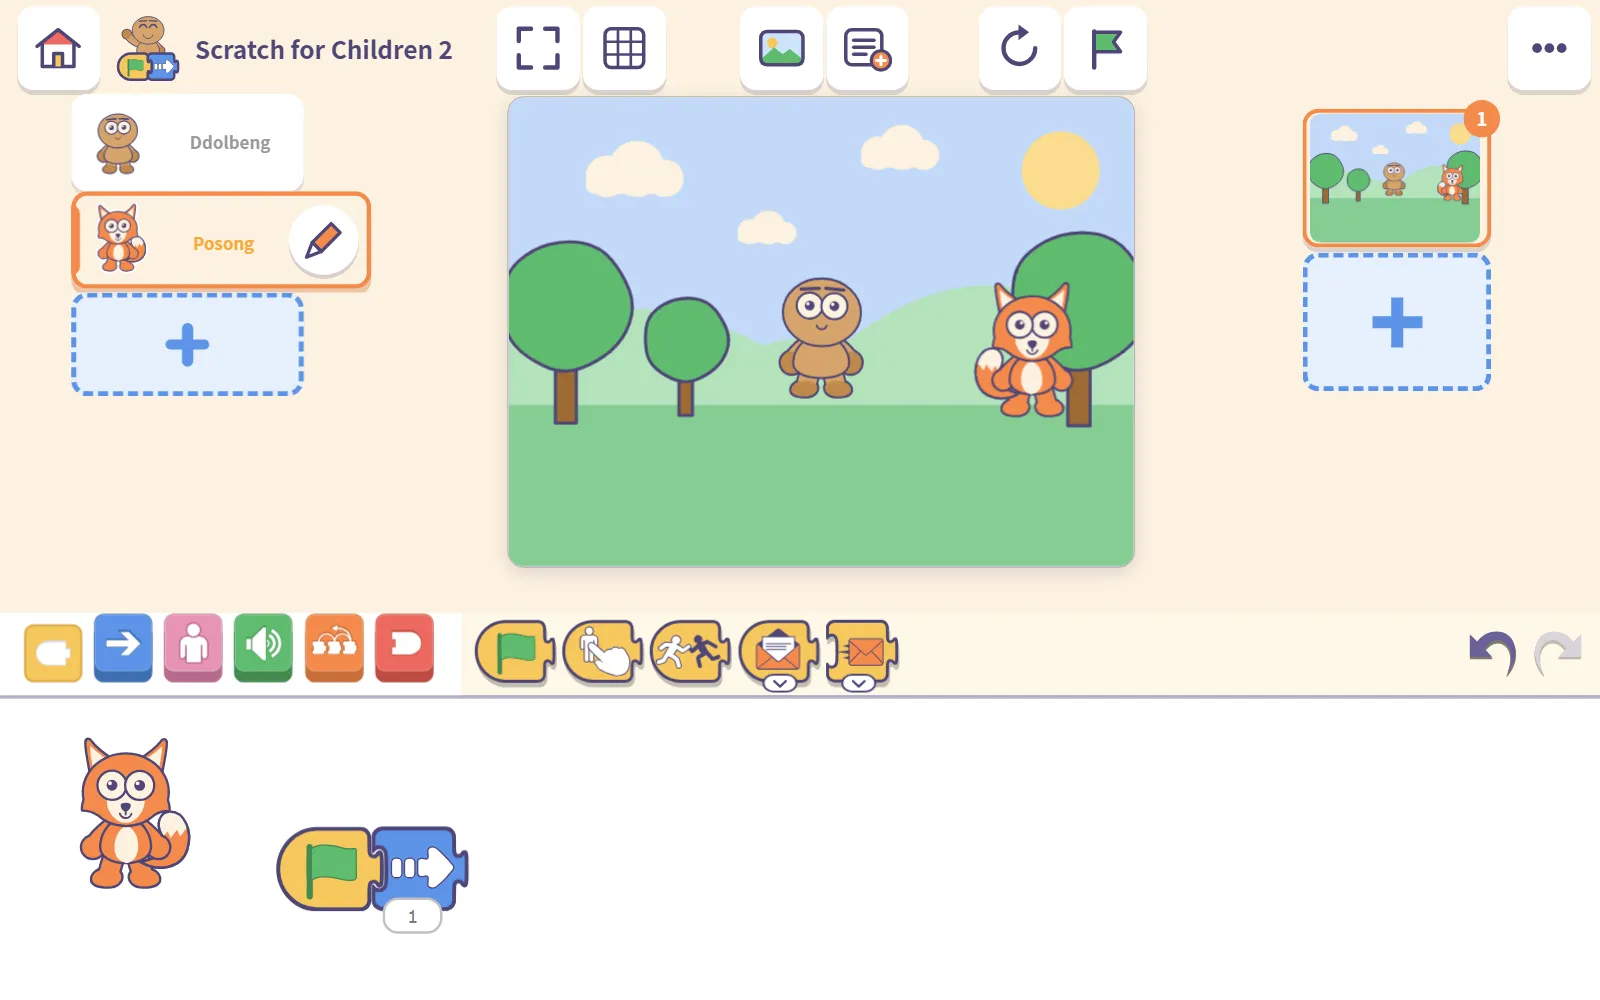
Step 5: Run it with the green flag
First, press the reset button (the round arrow above the stage) to put Posong back in the starting spot. Then press the green flag above the stage.
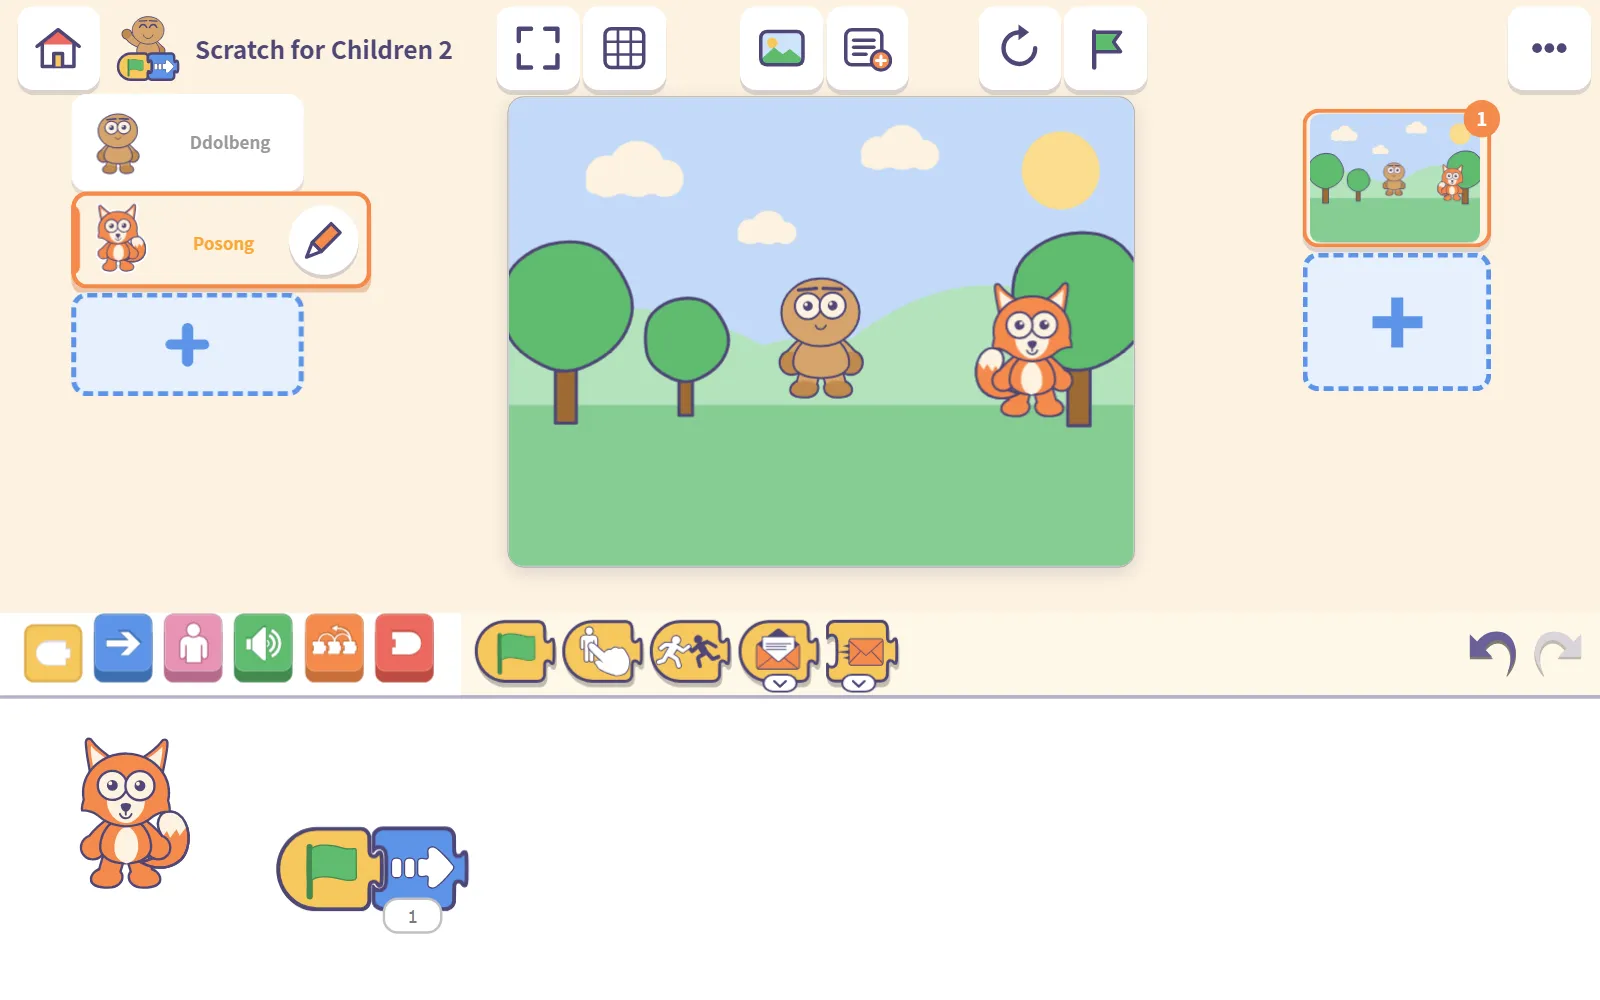
The green flag runs every row that starts with a flag block. So there are now two ways to make Posong move: tap the row itself, or press the green flag. That difference is one of the three ideas the guide says children pick up through play: when to start.
Step 6: Leave through the house
There’s no save button. When you’re done, press the house button at the top left. The project is saved as you leave, and it waits for you in the list.
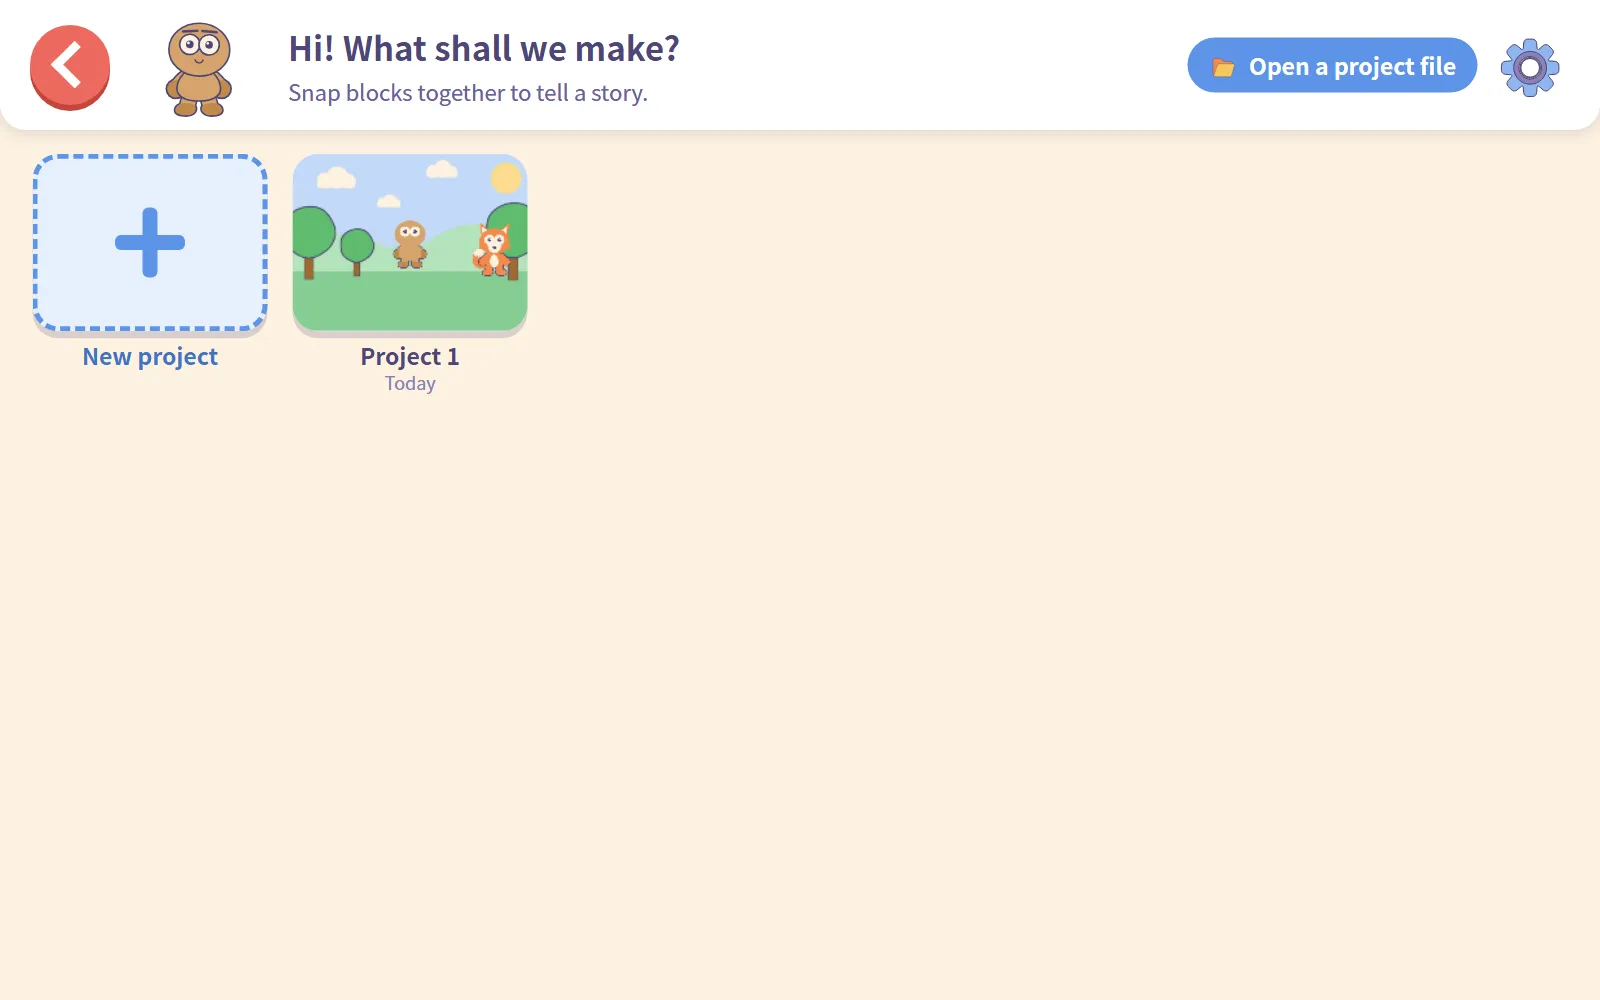
That’s the first half hour! In the guide’s own words: at this point the child already knows that pressing one thing moves another. Everything after this is adding one more block at a time.
Helping alongside
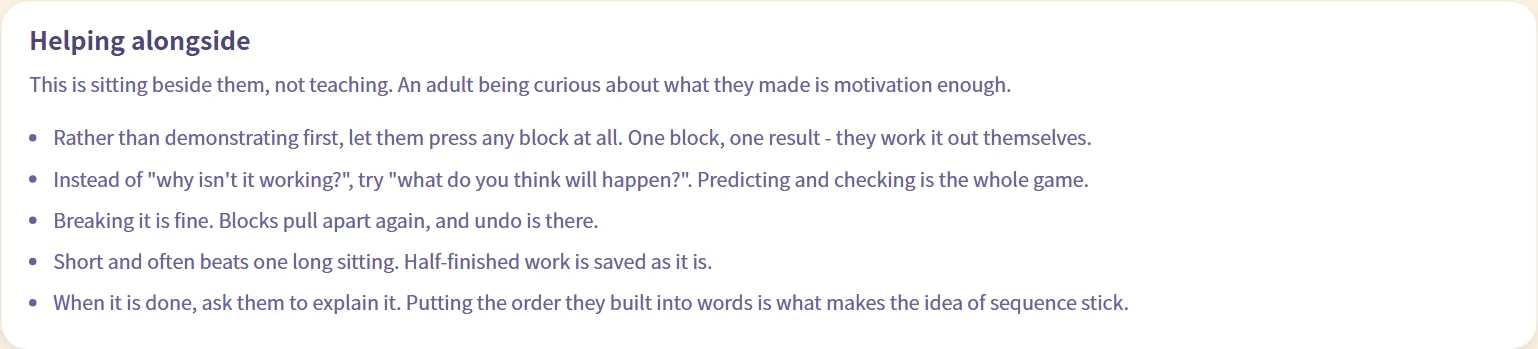
Right under the six steps, the guide has a short section called Helping alongside. It opens with a line we love: this is sitting beside them, not teaching. Here are its five tips:
- Let them press first. Rather than demonstrating, let them press any block at all. One block, one result, and they work it out themselves.
- Ask “what do you think will happen?” instead of “why isn’t it working?” Predicting and checking is the whole game.
- Breaking it is fine. Blocks pull apart again, and undo is there.
- Short and often beats one long sitting. Half-finished work is saved as it is.
- Ask them to explain it when it’s done. Putting the order they built into words is what makes the idea of sequence stick.
Coming up next
Want to look around all our apps? Head back to Meet CodingTeading. And for little ones who aren’t quite ready for blocks, there’s always Ddolbeng.
Next time we switch to the grown-up end of our apps: Bzzdex, where a page someone made with AI becomes an app with its own link.
Frequently asked questions
How long should the first session be?
About half an hour is plenty. The grown-ups' guide in the app says short and often beats one long sitting, and half-finished work is saved as it is.
Do we need to press a save button?
No. There is no save button. Leaving through the house button at the top left saves the project, and it can be reopened from the list.
What if my child breaks something?
That's fine. Blocks pull apart again, and there's an undo button beside the block drawer.
My child can't type yet. Can they still use the say block?
Yes. The grown-ups' guide suggests that an adult types the words for them.